MintyCam: A Pinhole Camera from an Altoids tin
A few weeks ago, in the middle of whole bunch of camera hype, I decided that I’d like to play around with a pinhole camera again. Instead of dicussing sensor sizes, frame rates and power consumption, I’d go back to the roots of photography: a light-tight box, a piece of film and a simple aperture. I’d built a few pinholes back in the day, cameras that were designed to use black & white print paper as the “film” stock, which of course generates a negative image.
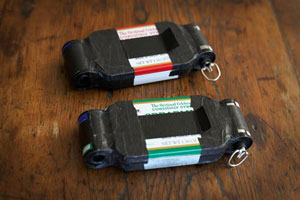
For over ten years now I’ve had several rolls of slide film sitting in my fridge and also the corresponding pre-paid processing mailers. I thought that a pinhole camera would be a neat way to finally use this film. At first, I assumed that I’d make my own camera, using a cookie tin or a cigar box. That was before PetaPixel turned me on to the MintyCam from Chris Keeney.
It was perfect! Small, easy, cheap. I ordered one and a roll of opaque black tape used to mount the film roll. Chris was also nice enough to send me some extra copper foil so I could play with different sized pinholes, and included a small tripod mount on the bottom of the tin. With this gear in hand and one of my trusty tripods, I headed up the Tioga Road in Yosemite.
I was using Fuji Sensia 100 slide film, which has very little exposure latitude, so I bracketed my exposures between one and three seconds in the full sunlight. The handy little magnet/shutter was easy to pop off, count, and pop back on again without shaking the camera. I blasted through a few rolls, and sent the film off to the lab later that week.
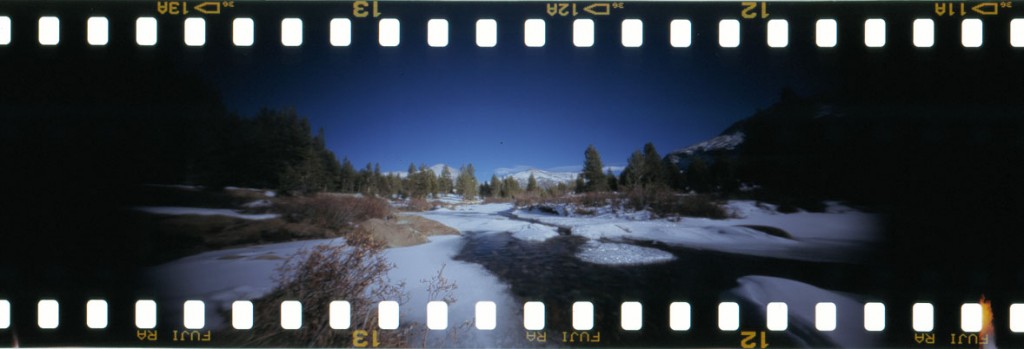
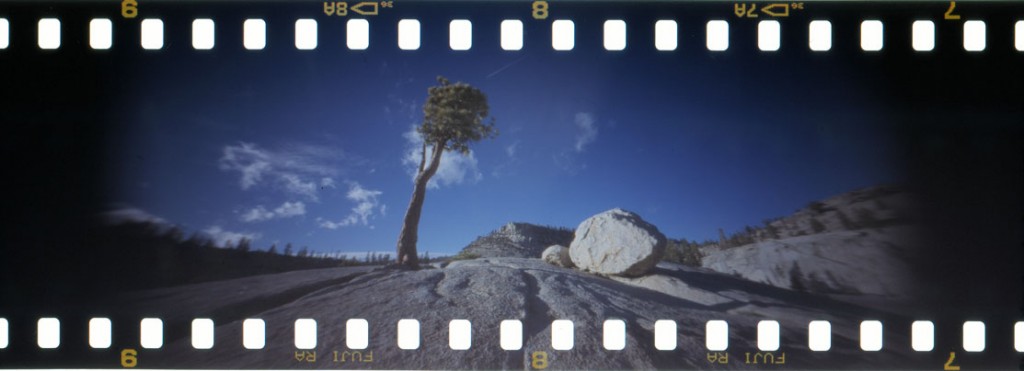
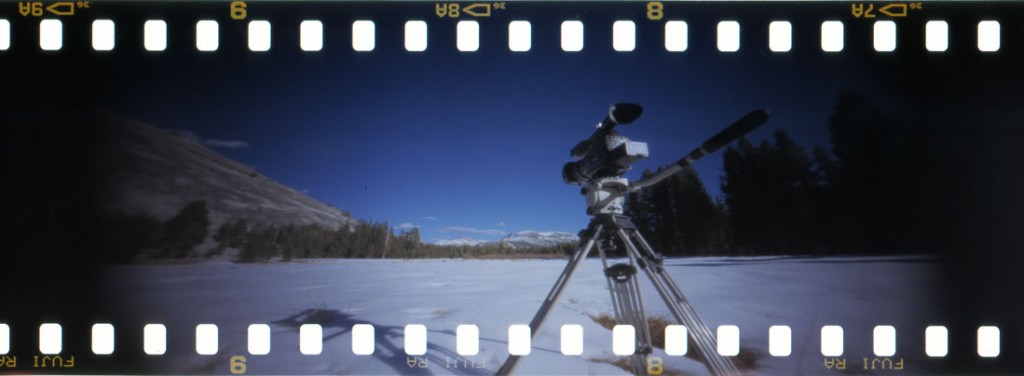
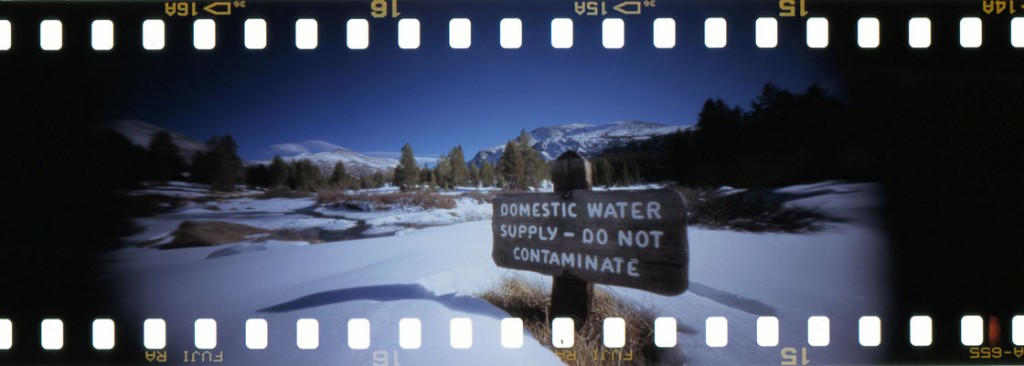
Ever since going digital about ten years ago and getting that immediate feedback, I’d forgotten how exciting it was to wait and see what I’d captured! I checked my mailbox anxiously for days until I finally got the film back. Just the smell of the emulsion took me back in time. I held the film up to the light, cut it into the individual images, and scanned them on my flatbed scanner. Here are some of the highlights:
It turns out that one second was generally the proper exposure for my sunny subjects. The shallow tin makes for a pretty wide angle image, probably around 14mm equivelant, so there’s some fun distortion. I’m suprised how sharp the image actually is, considering that it’s just a hole! Chris uses a tiny drill instead of a needle, so the .006″ diameter hole is very round, which increases sharpness. The only way to get a sharper image would be to have the hole laser cut.
I own dozens of film and digital cameras and I’m definitely a tech-y gear hound, but there’s a simple joy in taking a step back and using this very basic technology. I really like the shape of the image on the film strip and of course the sprocket holes are a cool retro artifact. I look forward to playing around more with the MintyCam and will probably try building a few other cameras this winter, but I’d better hurry. This sad note was included with the processed film: “We must inform you that due to industry shifts and demand, A&I will no longer process E6 film as of December 23, 2011.”
I’ve still got about ten of these pre-paid film processing mailers laying here so I better get shooting!
Comments are closed.

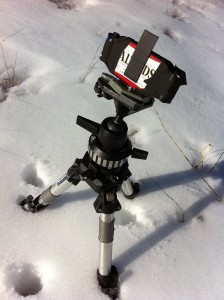

Hey Steve – I’m pleased to see that the first roll of film through your MintyCam was a successful one. I also want to thank you for sharing your results. You obviously did a great job taping the film and take-up cartridge to the camera because I only see one tiny light leak. Just so you know, after I scan in the negatives (or positives) I usually add a little contrast and sharpening (smart sharpening) in Photoshop. It’s also funny to see the MintyCam mounted on such a large tripod Thanks again for your purchase and I hope you continue to have fun with this camera as long as A&I will process your E-6 film. Cheers! -Chris
Chris-
Thanks for the inspiration! I was pretty amazed that there there weren’t more light lights, but I did go pretty heavy on the opaque tape. I did play with the levels a little bit in Photoshop, but I didn’t try sharpening them. I just loaded another roll of film in the camera and I’m heading out today to shoot some more pics!
This is awesome Steve! I think I know what to do with all of that Velvia in my fridge now. I also have a bunch of 120, I wonder if I can try it with that? I’ll need to build a larger “camera.”
I think 120 would be pretty awesome, then you could capture the whole circle. Holga even makes a pinhole 120 camera nowadays, but I wonder if 120 would fit the other way through the Altoids tin?